Phase 1 – Recording
- If you can and have the equipment and time for it, you may want to wash your record. (I only use to wash records that are really mistreated).
(see discussion about this in the section about equipment (link to be added)) - Remove dust with a record brush
- Start recording in for instance Audacity (I use Reaper) and check the recording level. Give some headroom for the case of louder sections in the record.
- Restart and record side 1 and 2 after each other (you can pause when you flip sides).
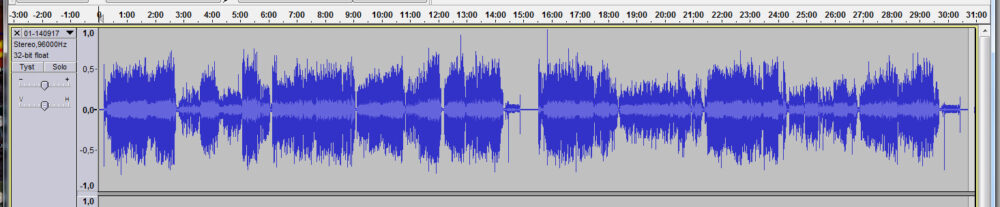
Examples from step 3 and 4 in Reaper. - When you have stopped the recording you can view it in it’s entirety (there is a command for this in Audacity, and you can also highlight peak sections where clipping has occurred). You can check if the recording level is OK. If you have highlighted peak sections, check them to see if they come from clicks and not from using too high recording level.
- Trim off excess recording time from the start, middle and end. I usually keep three seconds in the beginning and end and about four seconds in the middle.
(I do this in Audacity even when I have done the recording in Reaper. Then I have exported the recording and reopened it again). - At the same time as I trim the excess I also run noise reduction between the tracks. The noise reduction has needs a first step where you mark a section and then creates a “noise profile” (once per album). Then you can run the noise reduction on a chosen selection. I use a very high level for noise reduction (12 dB and only between tracks), not because I am so disturbed by the noise but I because I can save a lot of time when later running Clickrepair.
- If you are going to run noise reduction on the whole album (in deNoise) then you will need a “noise sample” and you can save the first three seconds without noise reduction (in step 7). A sample from the middle part should be more correct, so if you want to be really careful you can copy from the middle and paste it over the start instead.
A noise sample is also needed if you want to analyse the low frequency noise (rumble) and AC noise (hum). - Export your trimmed file to a WAV format (24 bit signed) so that it can be handled in the following editing steps. Give the file a name in the export dialogue (I use to combine artist name and album name).
- Also export the file to FLAC format if you want to have an unedited archive copy.
Examples from step 5-10 in Audacity.
When you close the recording program you will be asked if you want to save the project. The answer i no, as you will not have any use for this.