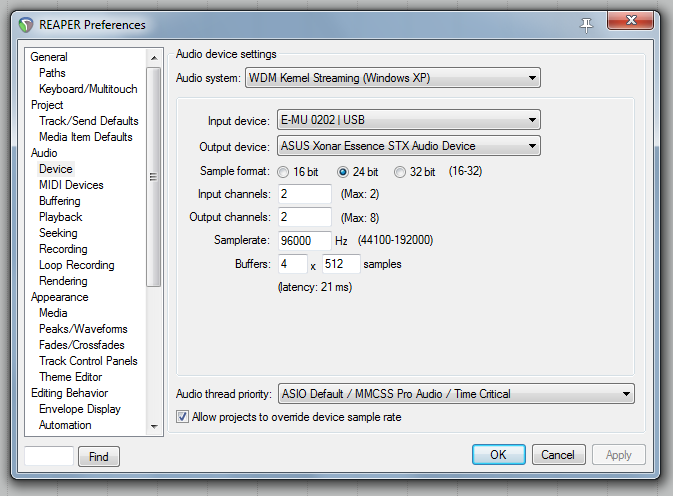
First there are some settings to do for Reaper (Option menu – preferences).
For example these:
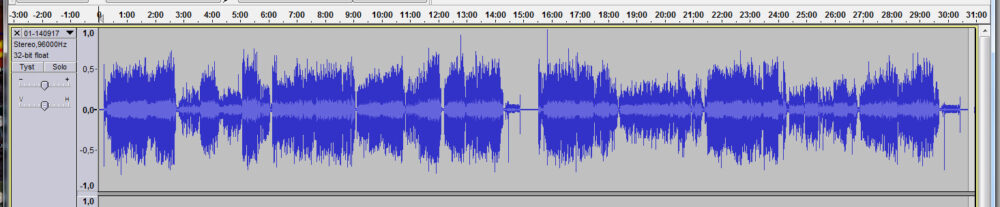
Start the recording and check the signal level
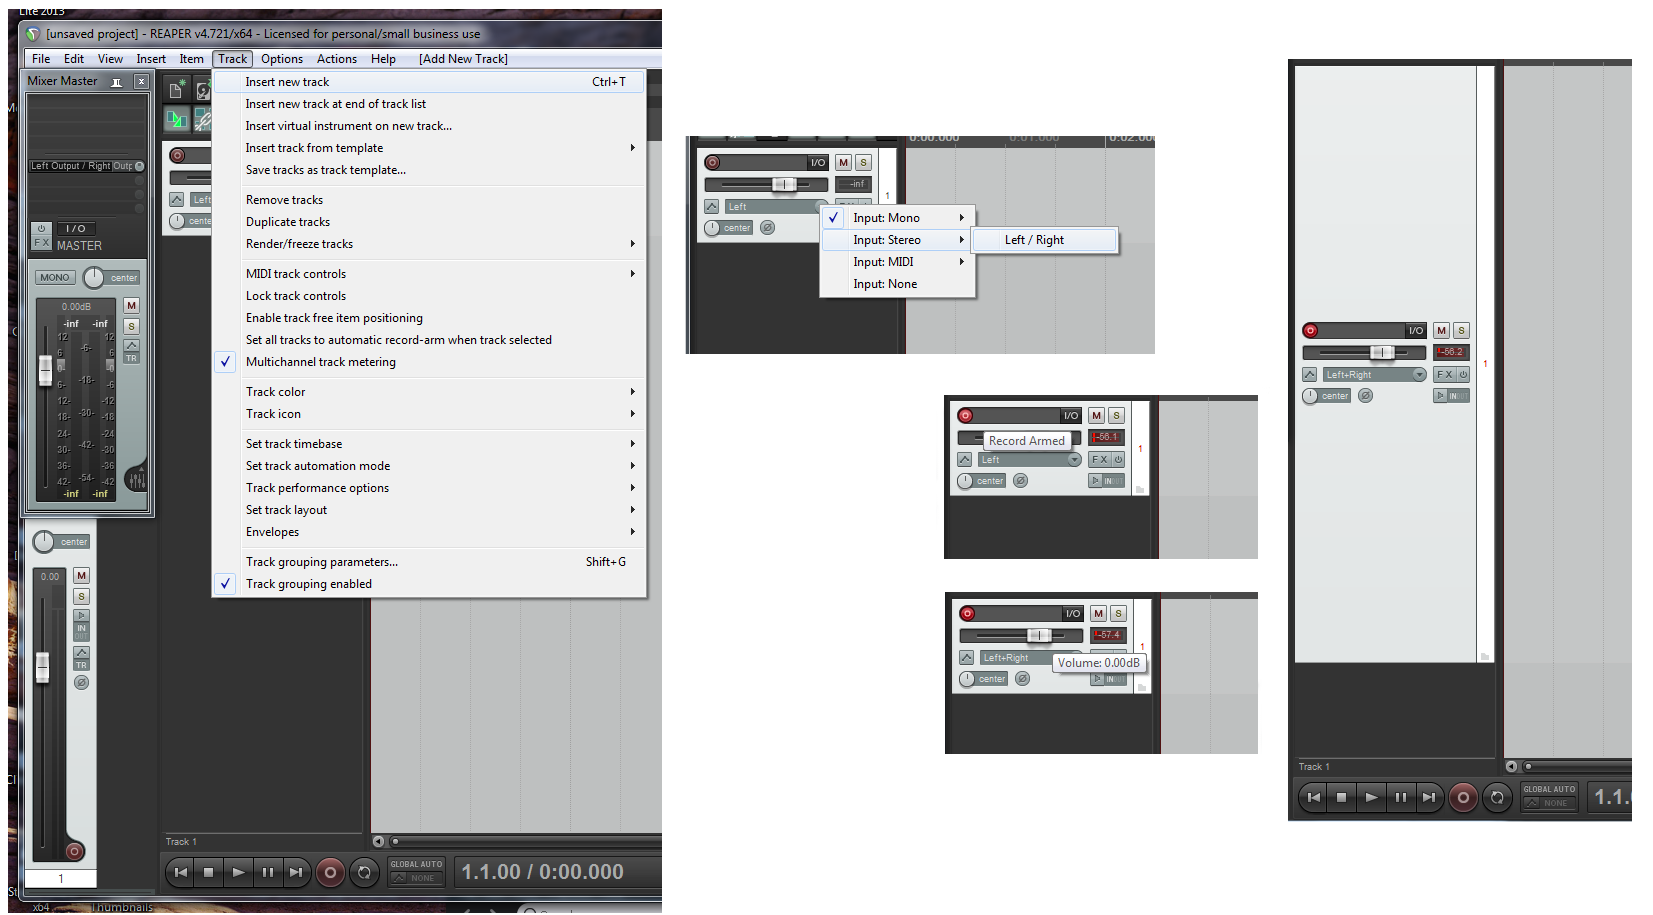
The first step in Reaper is to add a new track (Track – Insert new track). Then you mark the track for recording in stereo and activate it (Record Armed). The recording level should be set at 0 dB if you have an external sound card with input level adjustment. Then there should be no adjustment in the digital domain. Increase the size of the “track window” by pulling it down (see the picture below to the right):
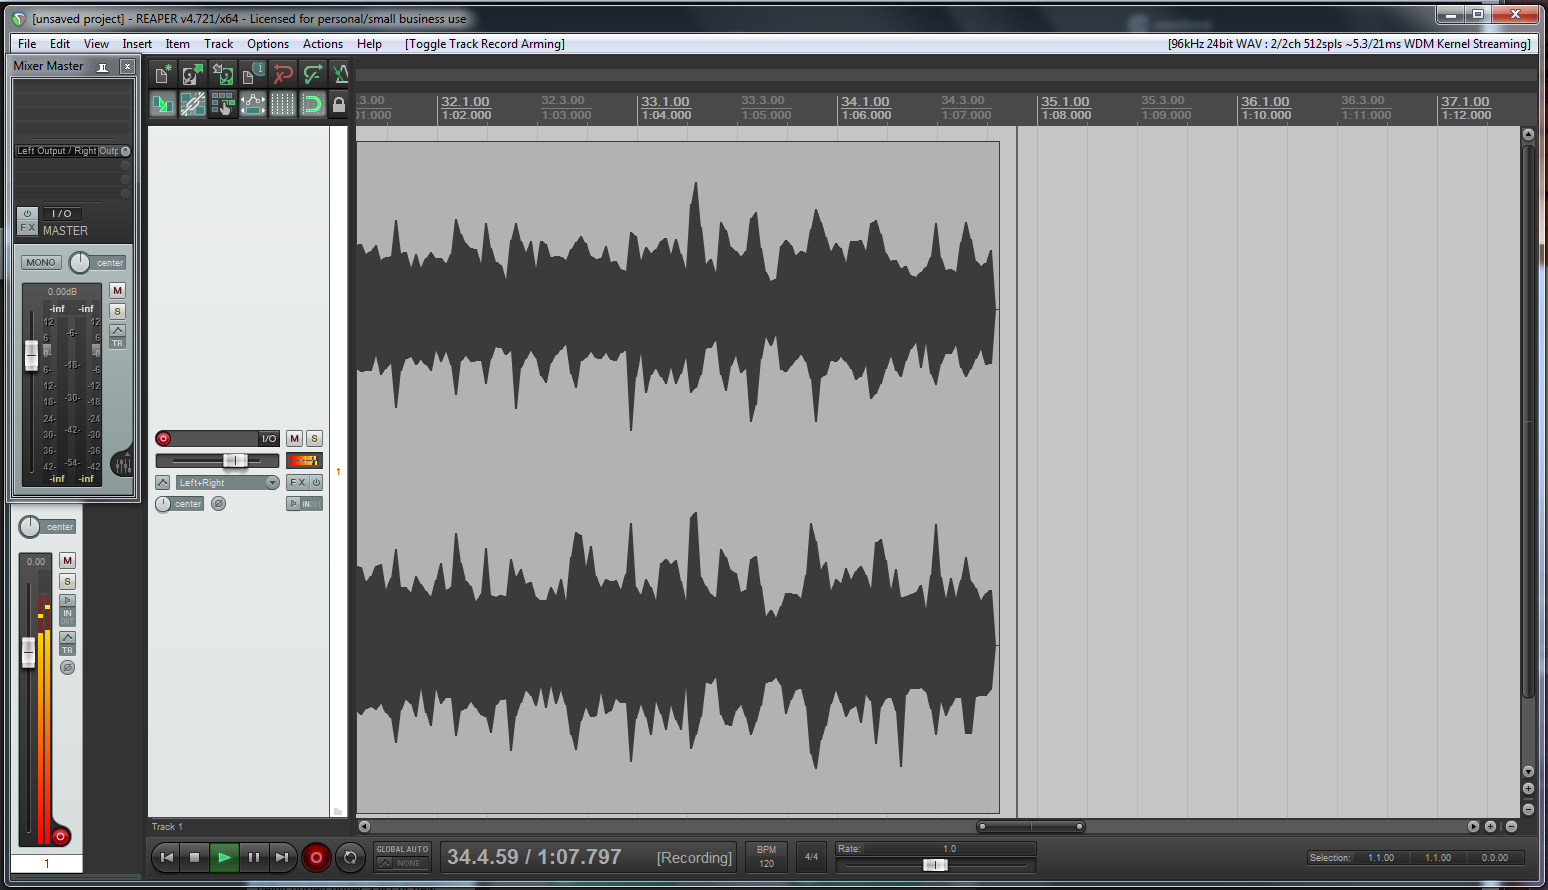
Now you can start with a test recording:
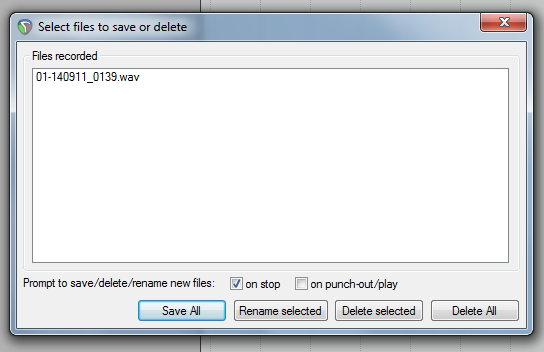
Listen and adjust the signal level so that you don’t exceed the maximum level (except when you have a scratch or click). Stop the test recording when you are happy. Now you will get a question on saving or deleting files. Select “Delete All“:
Restart and record both sides.
When you now stop the recording you should of course save it (Save All)!
Now it would have been practical to go on and trim the recording in Reaper, but I haven’t actually learned how to do this so I export the recording to a FLAC file.
Select format and where to store the “consolidated” file. Reaper will keep these settings so in the future you will only have to select “Process”:
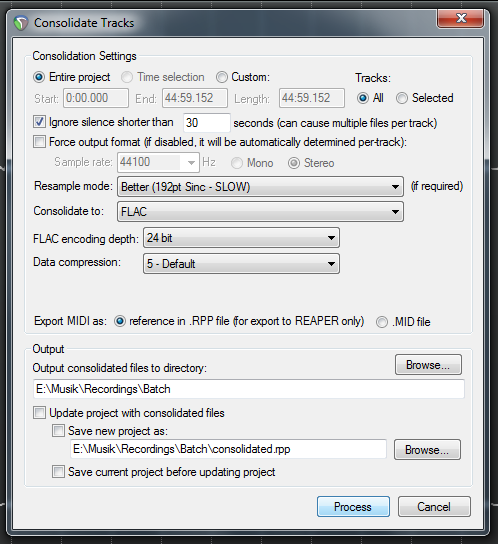
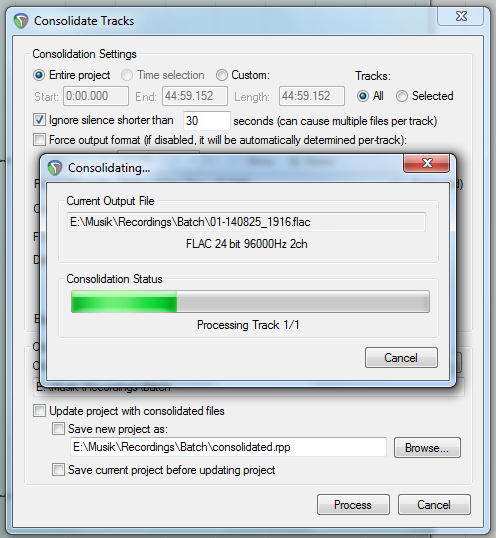
Click “Process”:
Now you can close Reaper and will receive the following question:
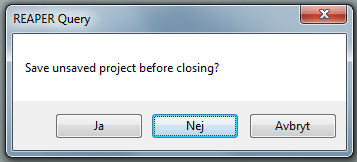
Reply – No – on this one!