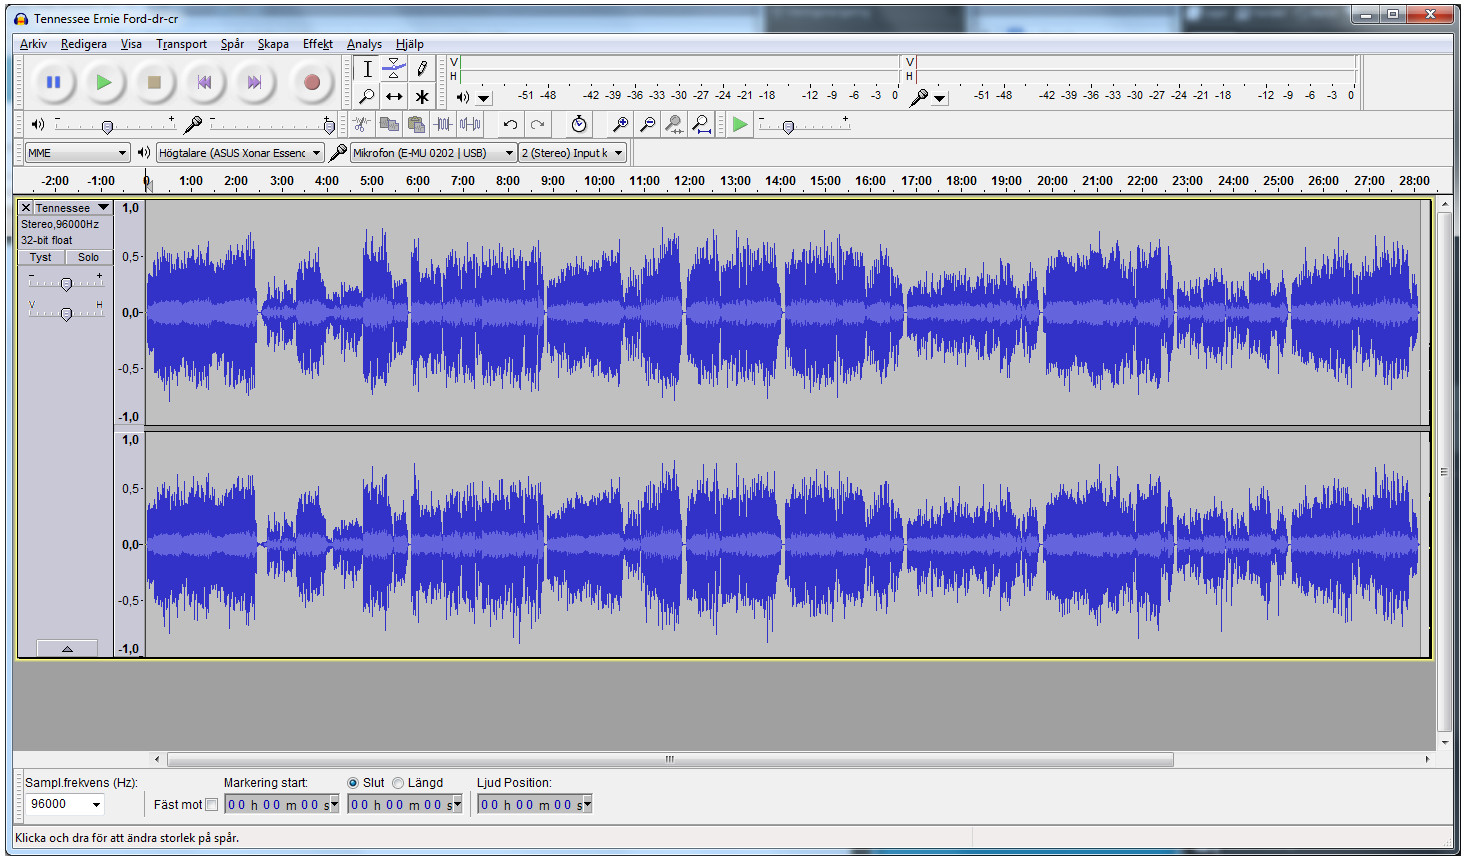
Open your “cleaned” recording with Audacity and view the result. Now the recording looks a lot better, and there are no spikes that hit “the roof”:
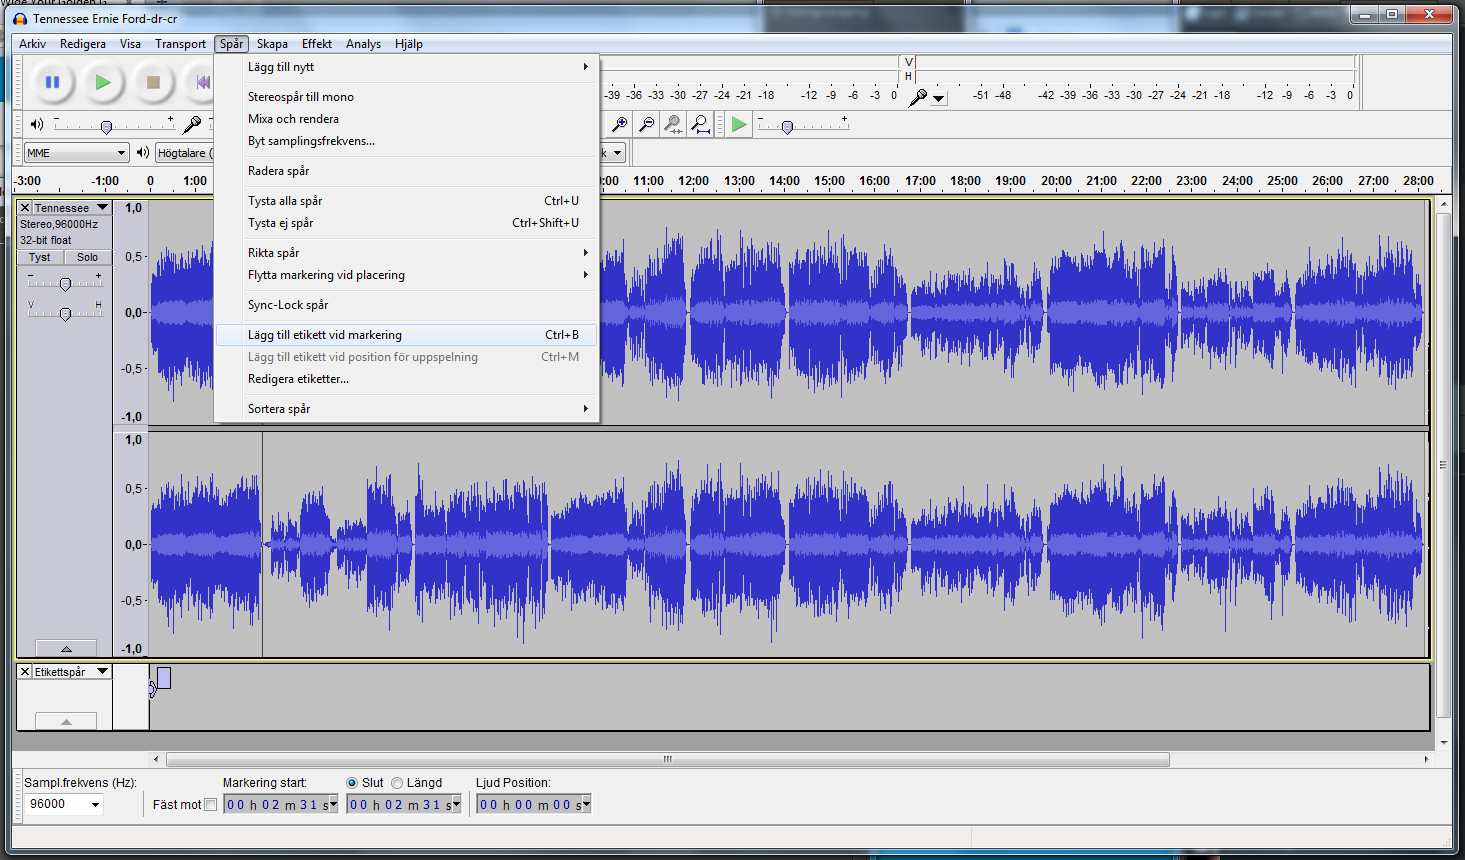
Make a preliminary marking where each track starts (Tracks – Add label or CtrlB). Remember to mark the first track (to the left):
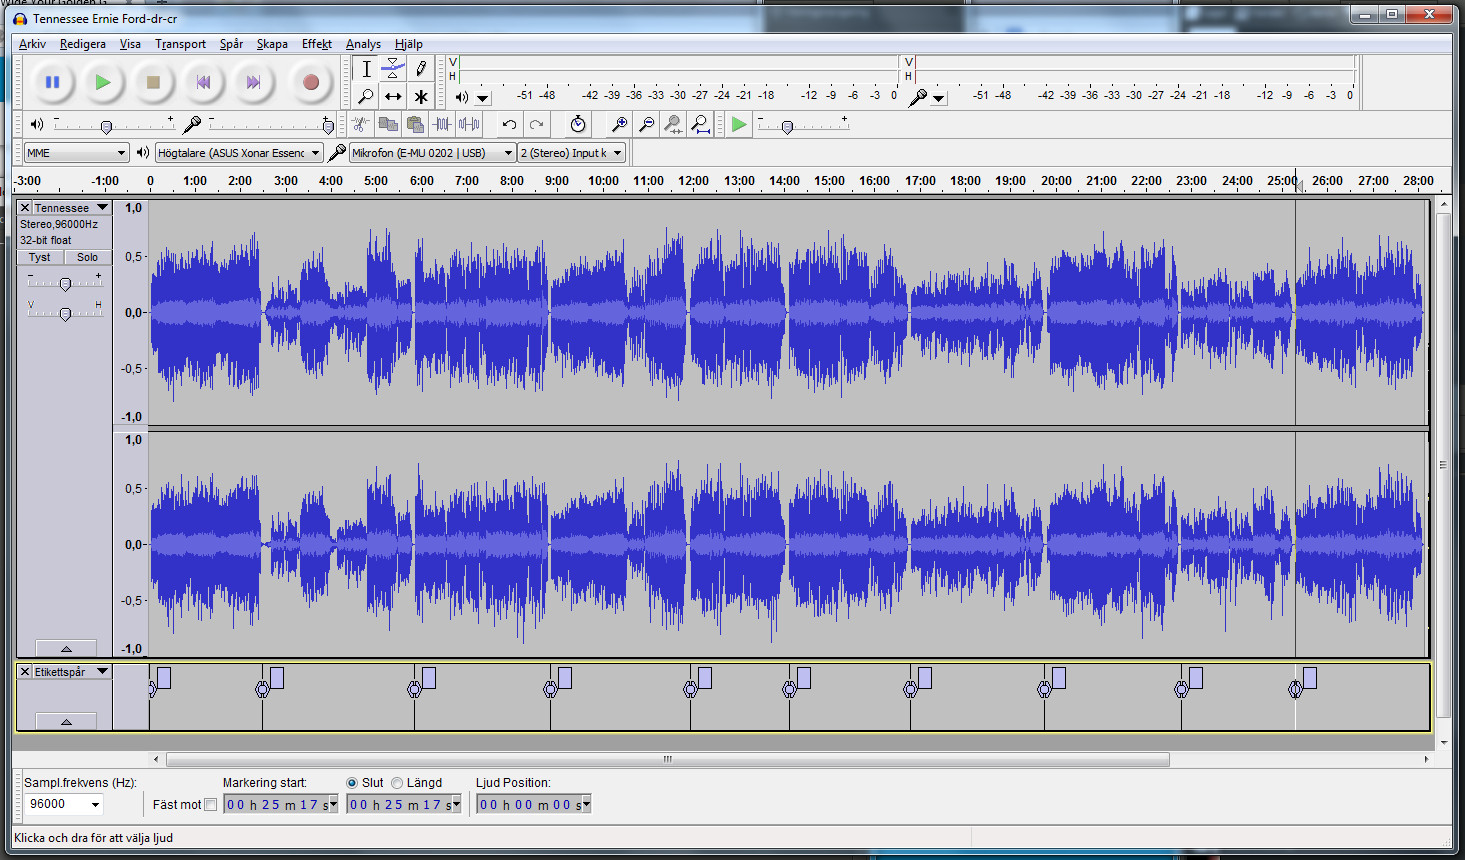
Here the tracks are marked. I found 10 of them:
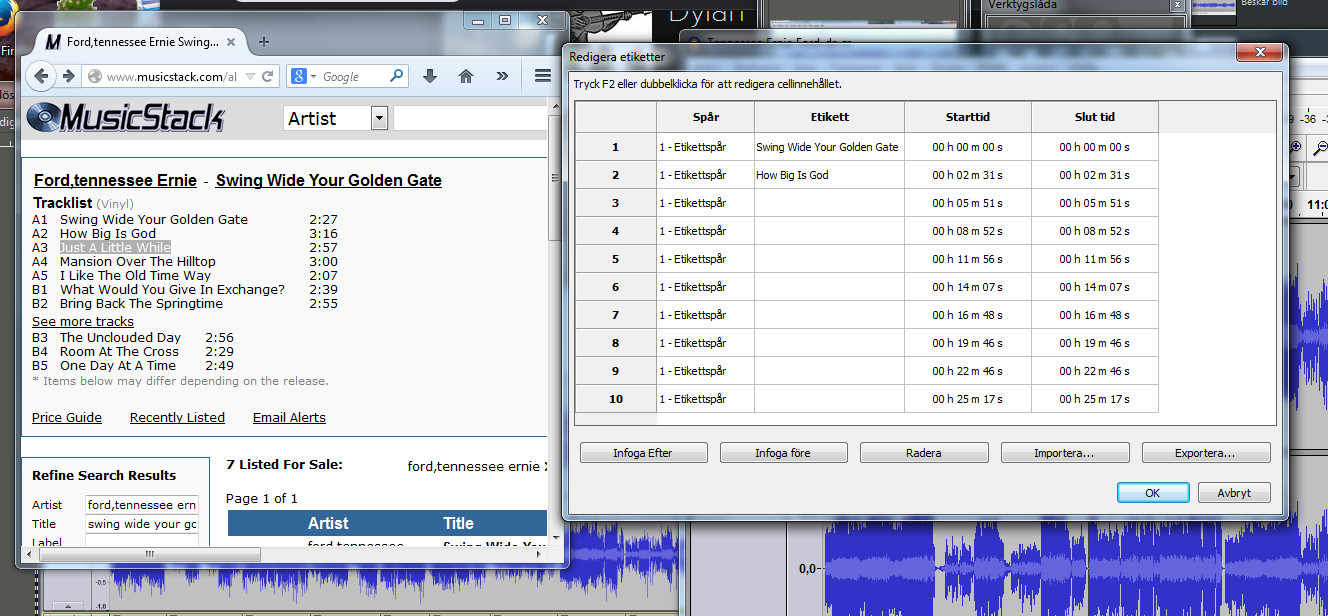
I found a tracklist for my album. The list also contains 10 tracks. Sometimes there are different editions for the same album, so I can also verify by checking my album cover.
I open Tracks – Edit labels and receive a list. Copy the track names and paste into Audacity one by one.
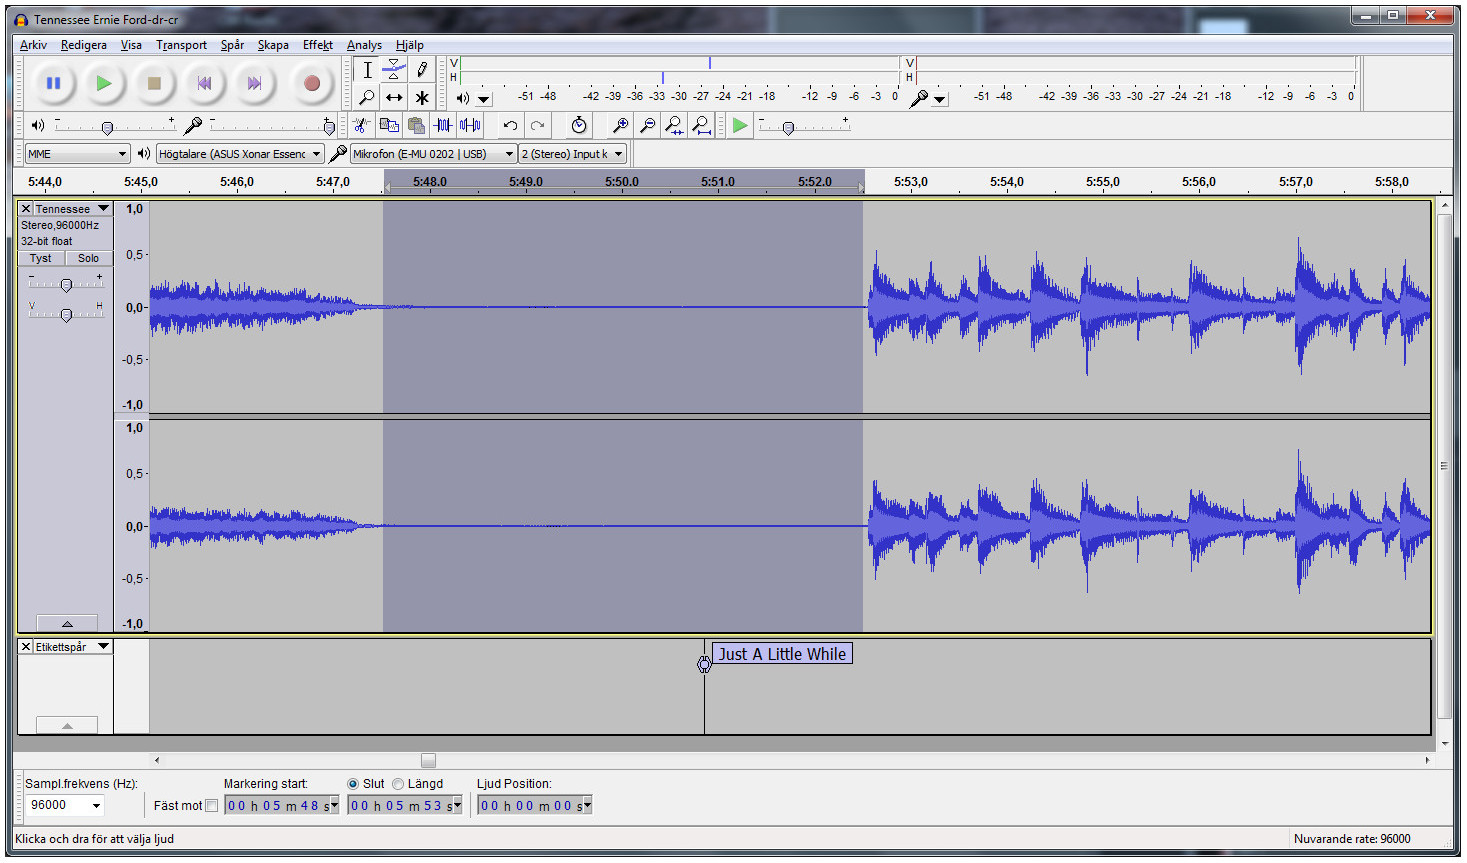
Now it is time to adjust the track markings. Zoom in and out to each marking by left or right clicking the zoom tool (magnifying glass).
Mark and listen to the space between the tracks. Then drag the track llabel to the right place.
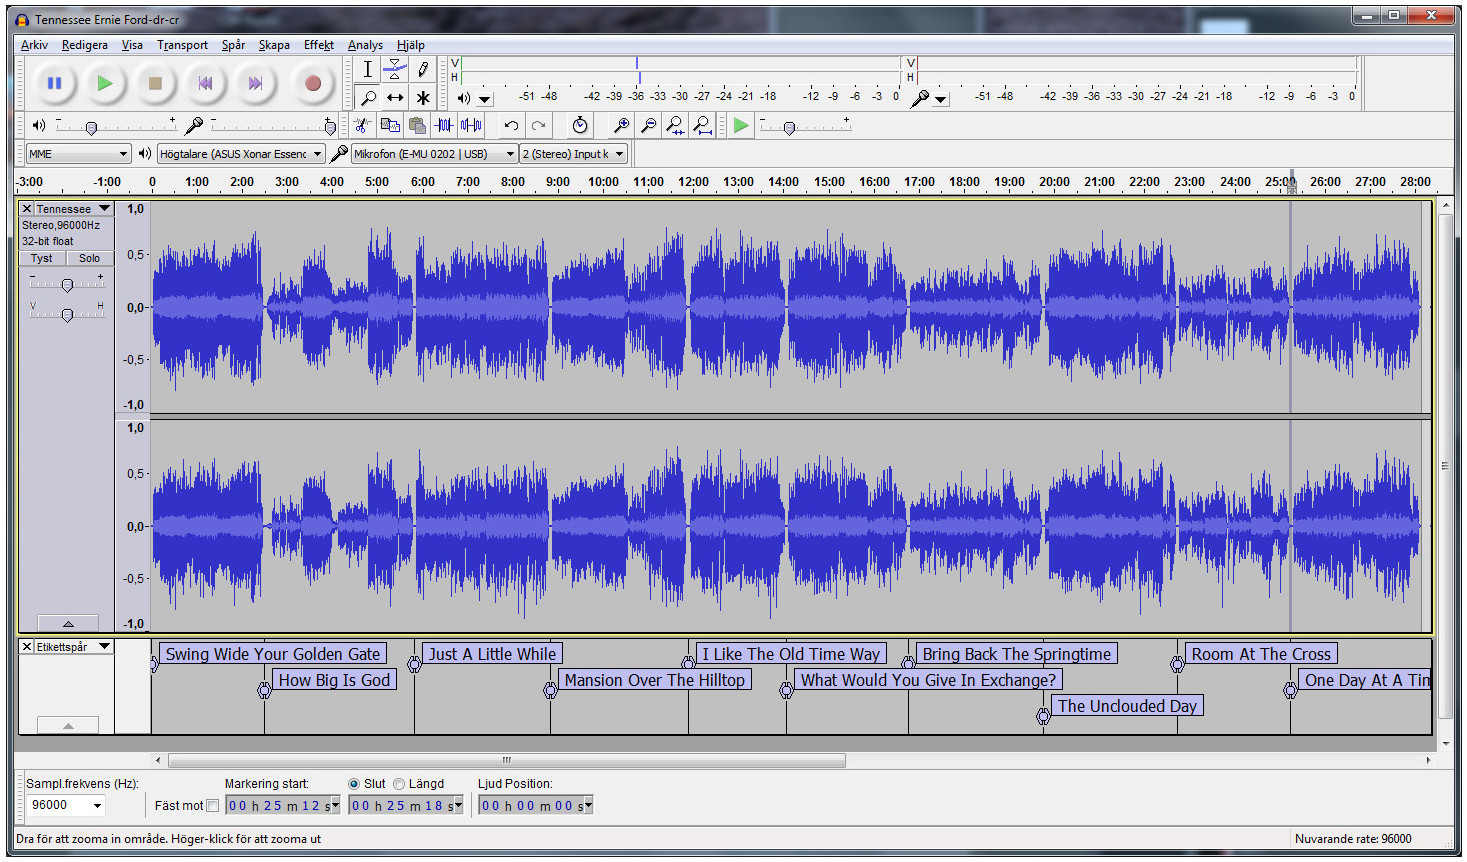
This is how the recording looks with named and adjusted tracks:
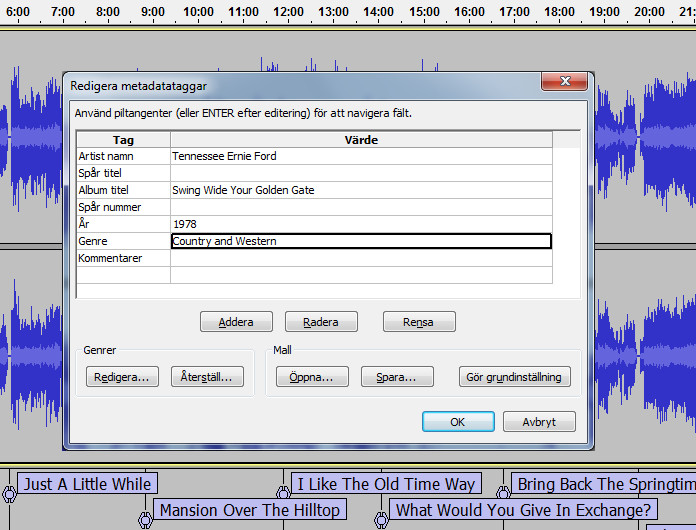
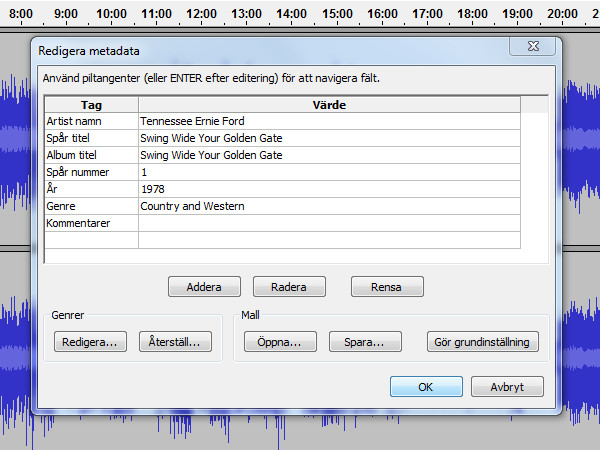
Open Edit Metadata (under File) and enter information for the album (not for the tracks):
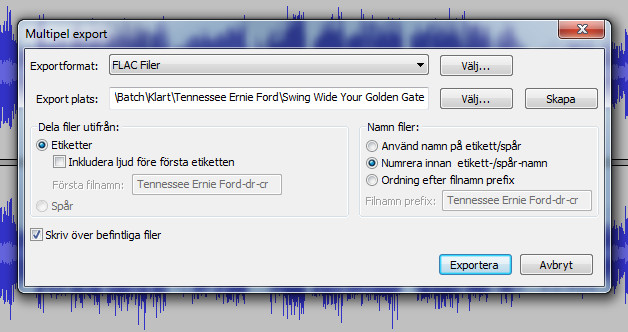
Now it is time to export the recording (File – Export to multiple files). The export location is remembered by Audacity from previous export. In the export window I enter the folder name for the artist (Tennessee Ernie Ford) and a subfolder for the album (Swing Wide Your Golden Gate).
In the first phase of the export you will see a popup for each track. Click OK.
Each track will be saved with track number and name.
(If the name contains invalid characters there will be a popup for this and you can adjust the name).
The export starts when you have accepted all the tracks. Finally you will see a popup window which (hopefully) tells you that the export has been successful. You can then close Audacity (without saving in Audacity).

