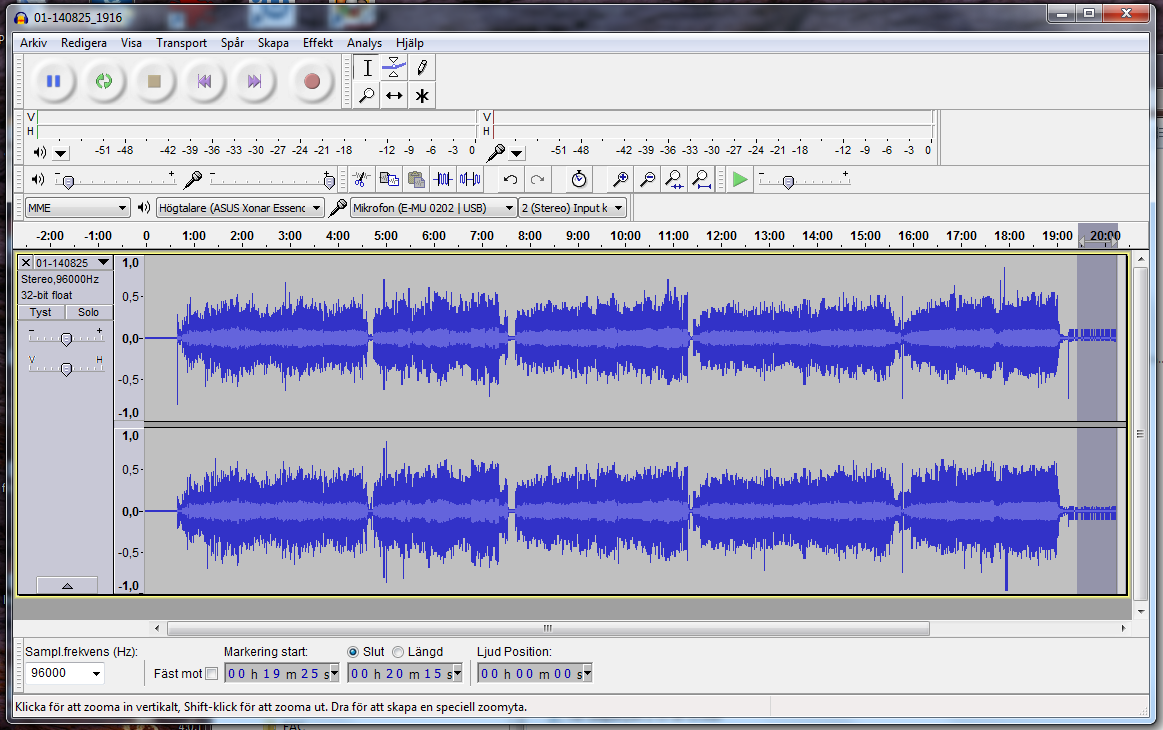
You may have done the recording using Audacity from start, but I turn up in this step:
View the entire recording
Here I have opened my recording and chosen the option View – Fit to window, which shows the music file from start to end.
Now you can check the recording level. I think it is fairly OK. The spikes you see come from clicks. If I would have thought that some section had been recorded at a too high level, then I would have started over, but now I think the result is acceptable.
Delete excess recording and reduce noise between tracks
By using the “magnifying glass” you can zoom in (left click) and out (right click) and then mark a section for deletion or noise reduction.
Here I have chosen Noise reduction under the Effects dropdown:
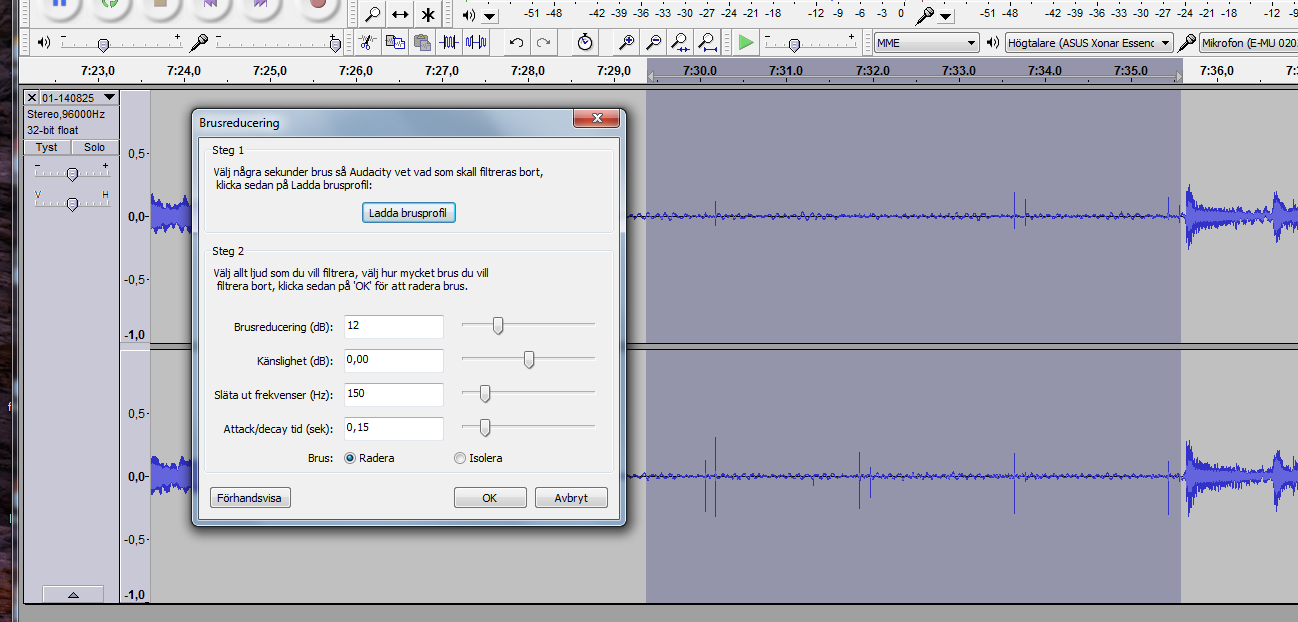
There are two steps in the noise reduction – Load noise profile (which I only do once per record) and then the actual noise reduction. The setting I have chosen (12 dB) is extremely high and is only used on silent parts between tracks:
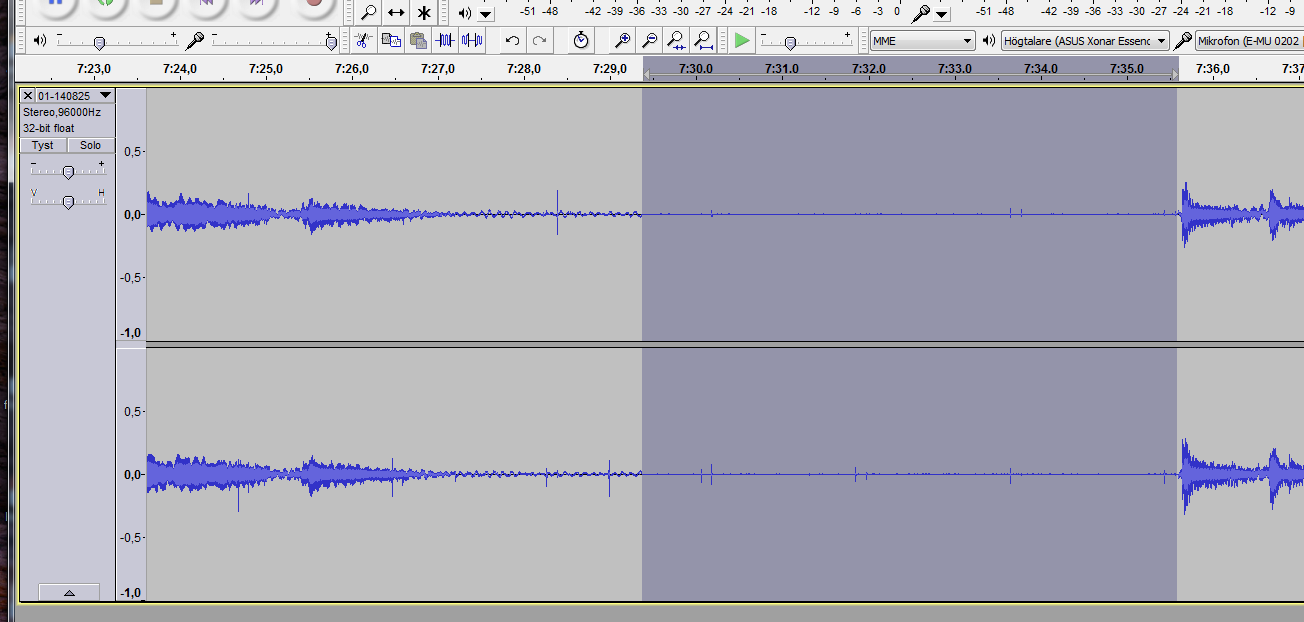
In the picture below I have cut down the leading silence to 3 seconds and I want to fade up to the first track by using the tool Adjustable Fade (Effect menu):
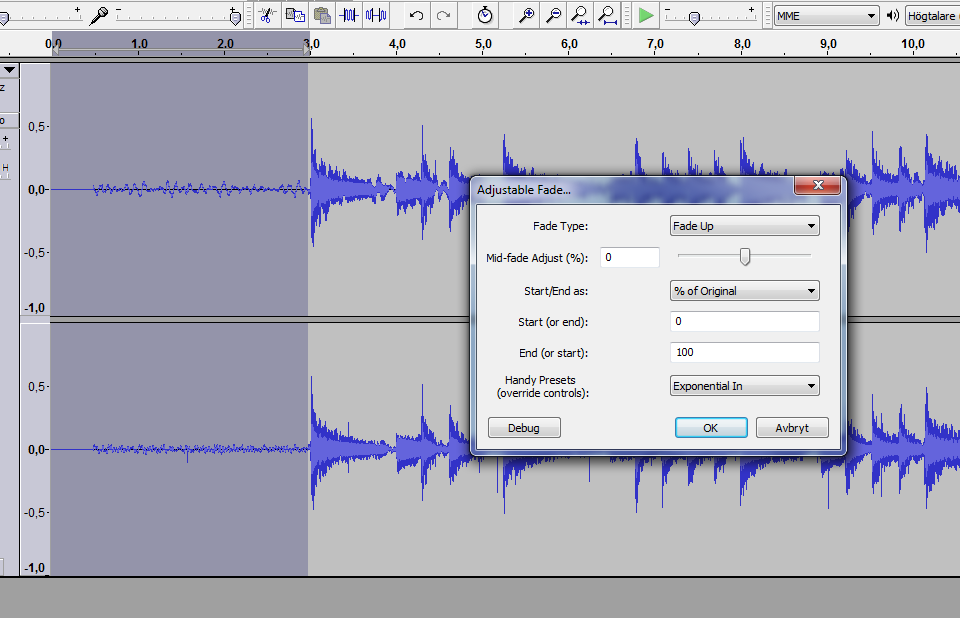
I use the presets for Exponential In or Exponential Out (for fading out).
Export for the next workflow steps and to archive copy
Now you need to save the recording for the ongoing work. Chose a filename for instance following the pattern “Artist – Album”. The file format should be WAV (in my Swedish version of Audacity this is covered by “Andra okomprimerade filer“). I have also verified the settings in detail (not shown here):
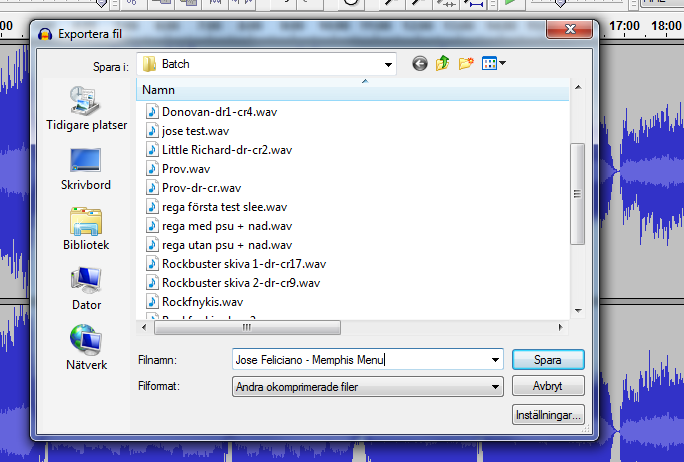
If you want to keep an archive copy at this point you should once again do an export – this time to a FLAC file.
When you close Audacity you will get a question:
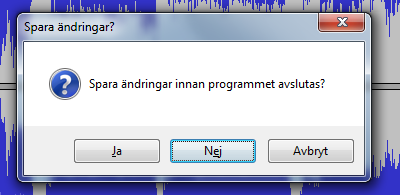
In English this would read something like “Do you want to save your changes before closing the program”.
The correct answer is No, as we will have no use for keeping the recording in the Audacity format.

